9 Event Photography Tips For Getting Your Best Shots
Photographing events can be super fun and interesting but it can also be a real challenge! Ideally, prior photography experience is highly recommended because you have to be confident in adapting to fast-paced, changing environments, whilst still creating amazing photos and getting the job done on a professional level.
With 4 years of experience in event photography, we hope our tips below will help you to smash a shoot whether it’s festivals, PR, or private parties!
1. Scope the venue beforehand
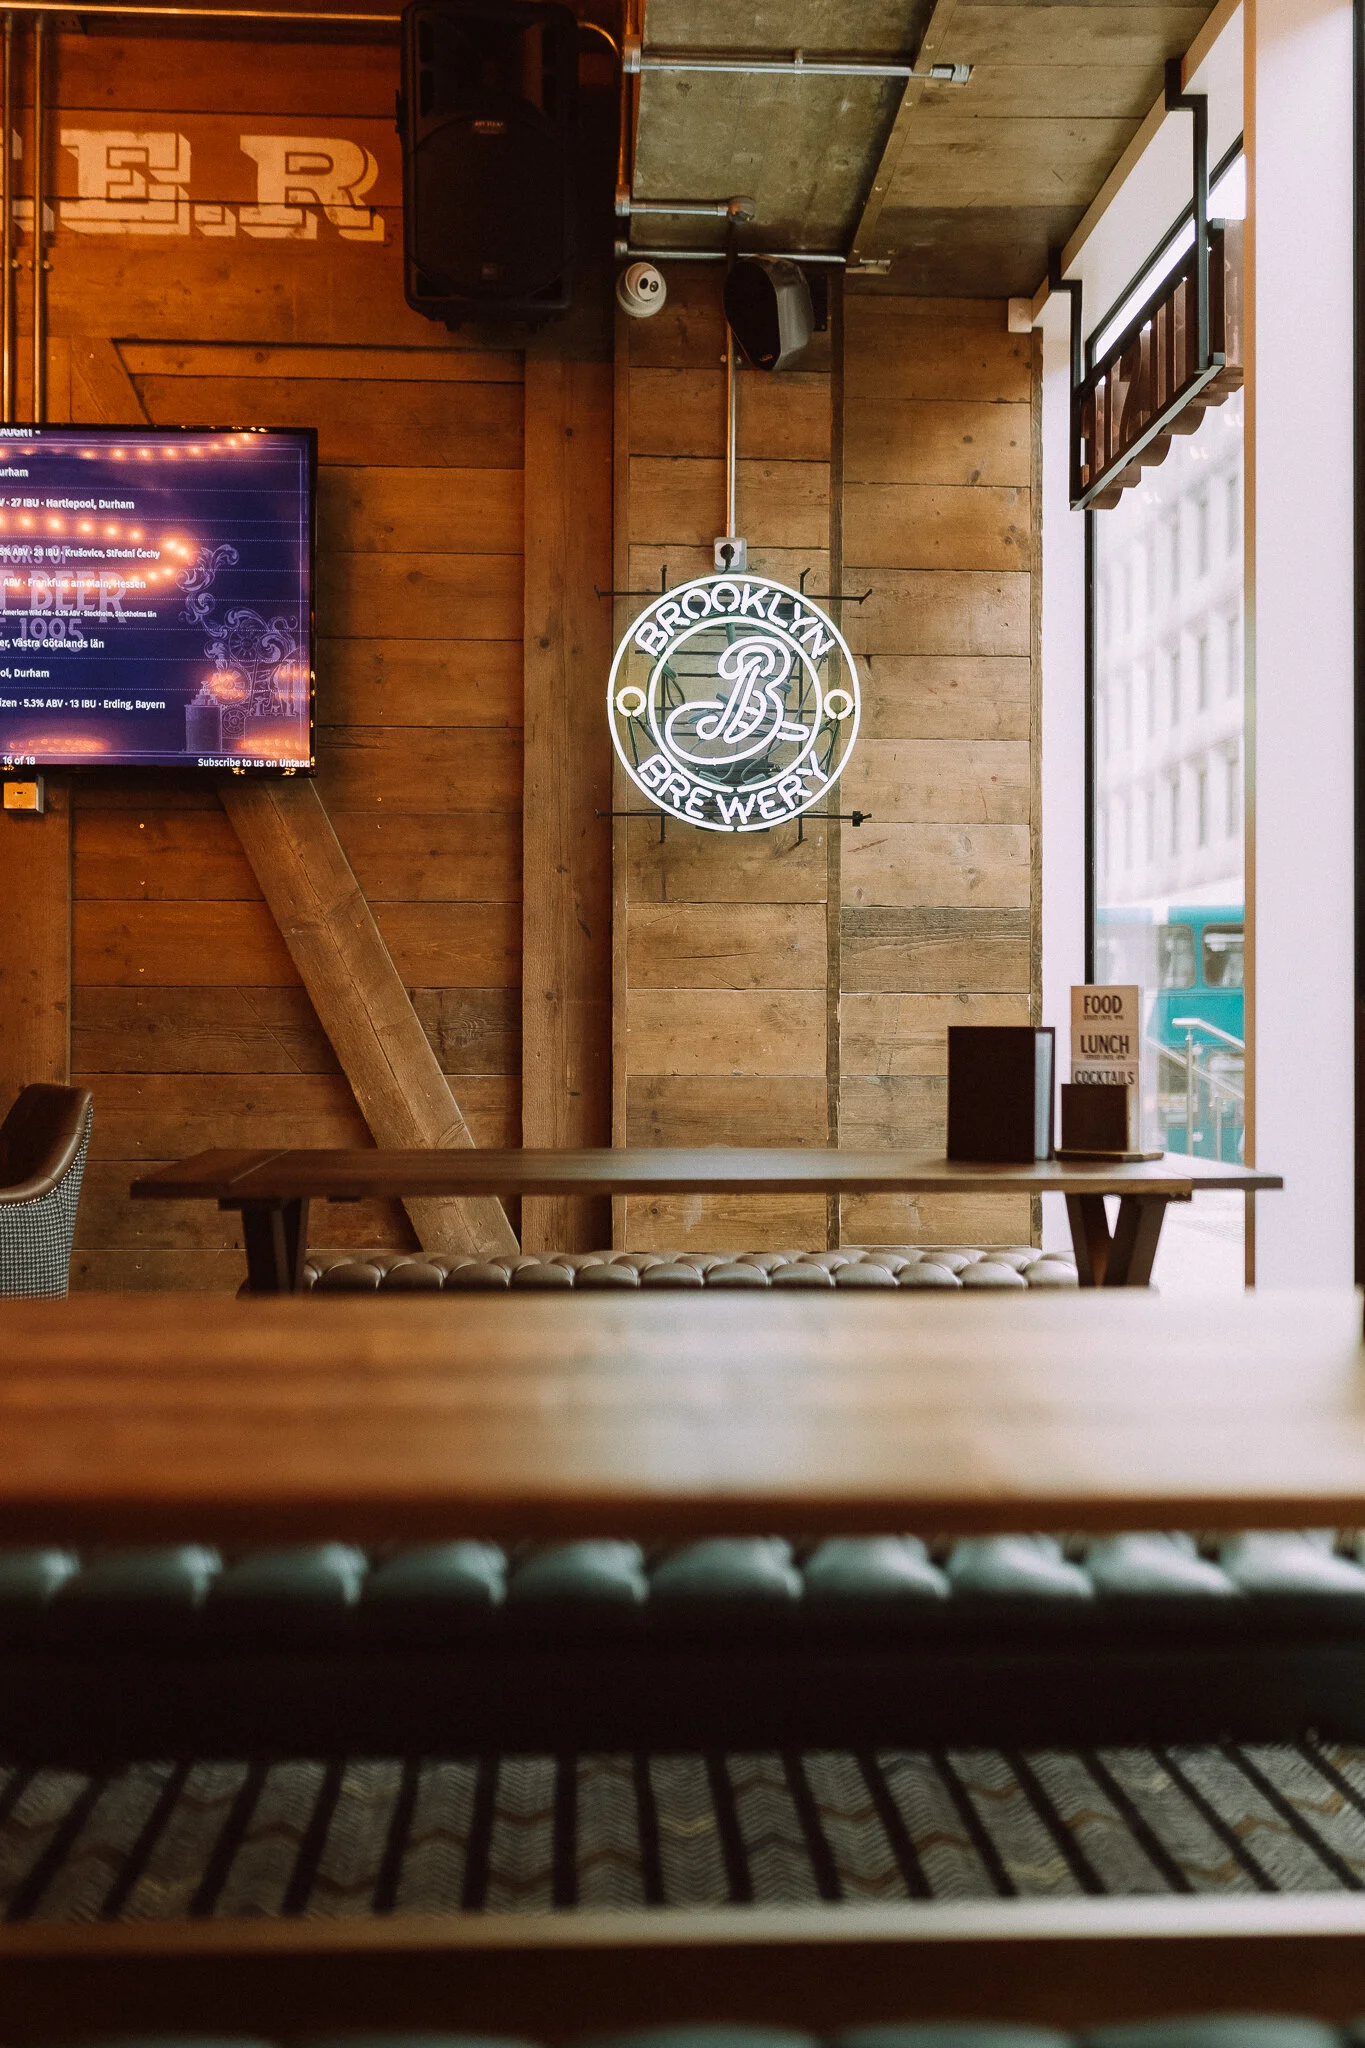
Doing some research of the venue prior to the booked event can really help you out - especially if you’re new to event photography and are still learning to adapt very quickly to locations you’ve never been to before or had similar experience in.
Taking note of the colour of the walls and ceilings can help you prepare you in advance for the settings on your flash and/or other setups. Google the venue, stalk ‘em on social media, or - if you can - visit the venue in person!

2. Find out if there’s anything specifically scheduled
If a client hasn’t mentioned a schedule before the event, always be sure to ask them before the booked date in case there is one so you don’t miss anything that’s been specifically planned! Make sure to go over the given schedule with the client on the date of the event so you’re up to date. And don’t be afraid to put forward some ideas or give a technical opinion.
3. Rock up early to take pre-event shots
Depending on the event, it’s best to turn up 15-30 mins early. Of course, in general, it’s always professional to turn up early to a job but for event photography, you need that extra time to actually “start work”.
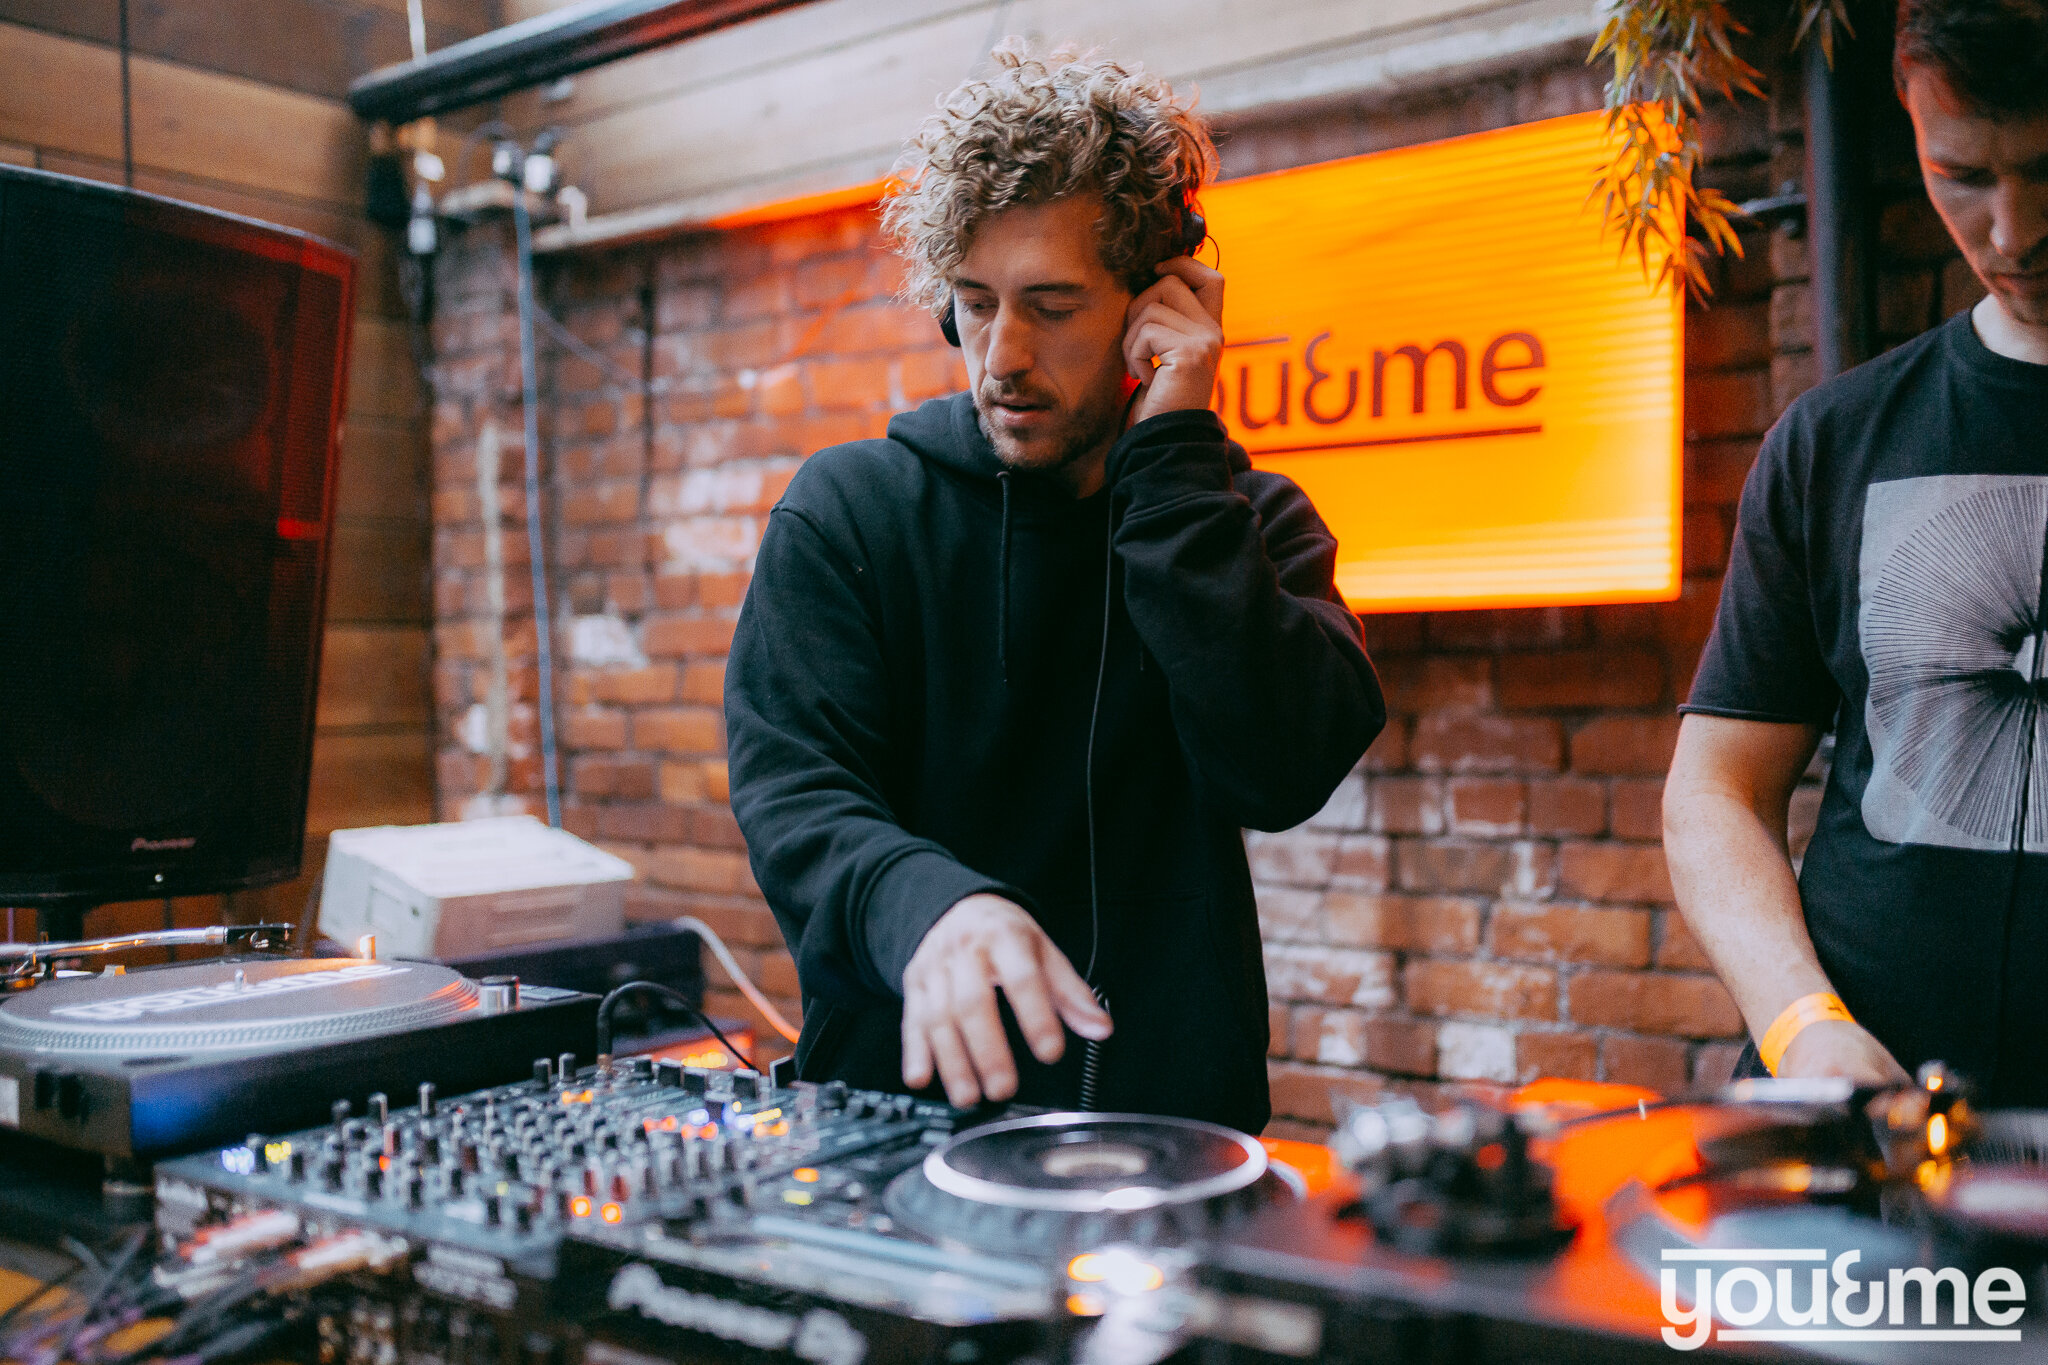
By this, we mean it gives you a chance to set up equipment, get familiar with the venue before diving in. Take practice shots of the staff or DJ if it’s possible in order for you to get the right settings and familiarity before the event actually starts. For festivals, we recommend turning up at least 30 mins before if the person hiring you hasn’t given you a time to turn up so you’re able to get familiar with the site.
Turning up early also gives you a perfect chance to talk to the person running the event or management and especially to run to over the schedule. In addition to this, it gives you the chance to get venue shots or any other shots the client wants beforehand such as staff shots.
4. Take the right gear
Generally, you’ll need to take a full-frame DSLR camera, an external flash and trigger, and spare batteries (remember for your camera, flash and trigger!!) and memory cards. So get those AA batteries charged!
For PR, private parties, and indoor events etc, we have personally used the Sigma 35mm 1.4 art lens for a few years now and have found it to be perfect. You may want to use a longer focal lens (e.g. a 50mm) to capture candid photos so you’re not too close to the guests. We have used the Canon 85mm 1.4 L series lens for a festival before and weren’t really fond of it - we definitely prefer it for portraiture photography!
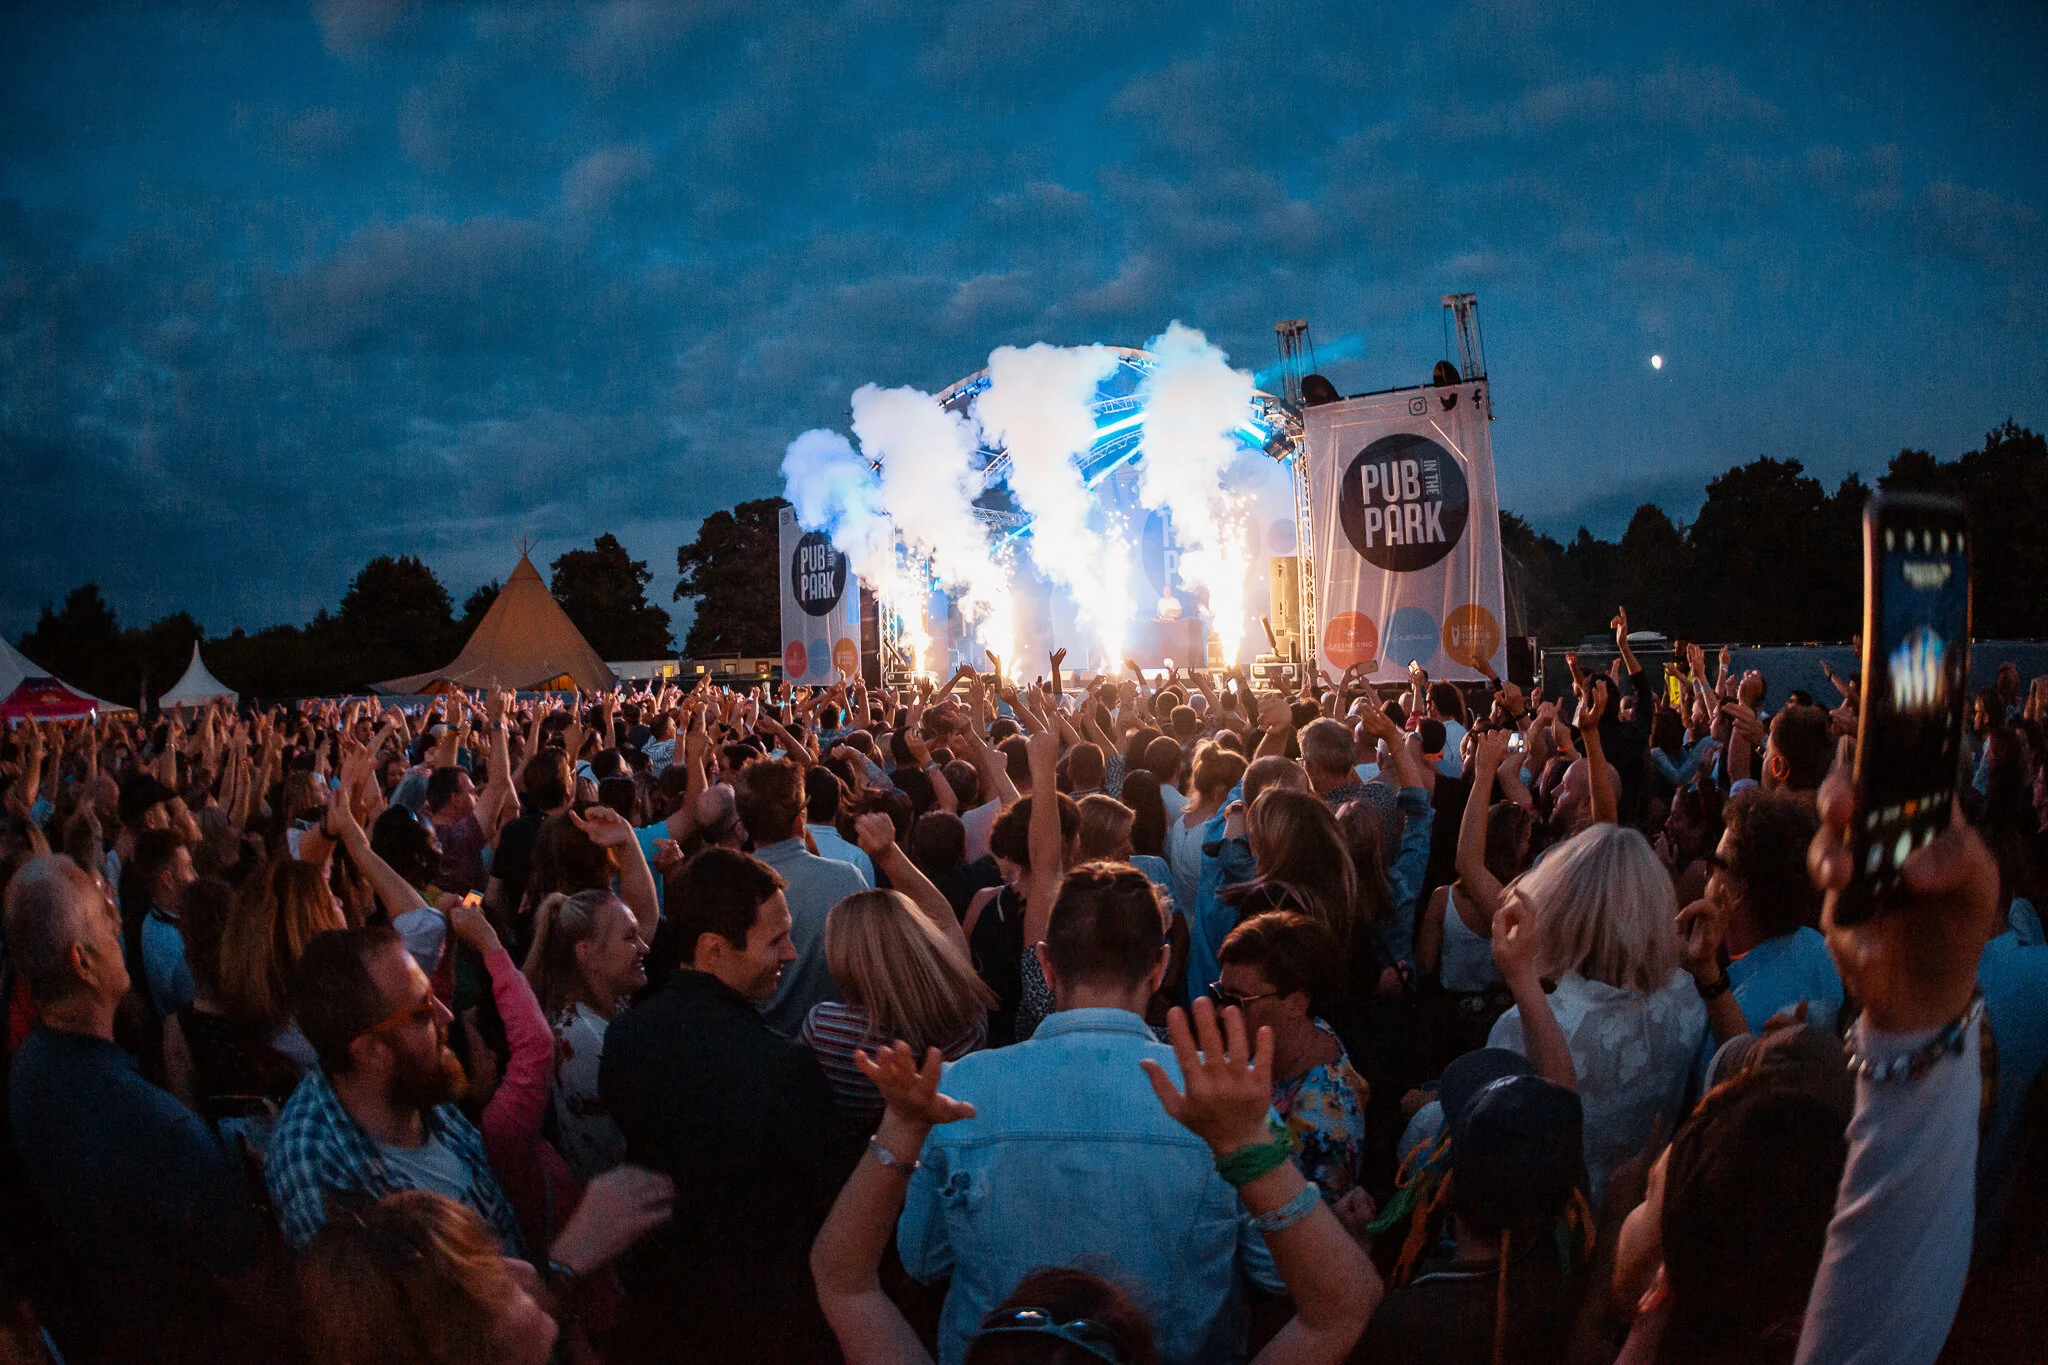
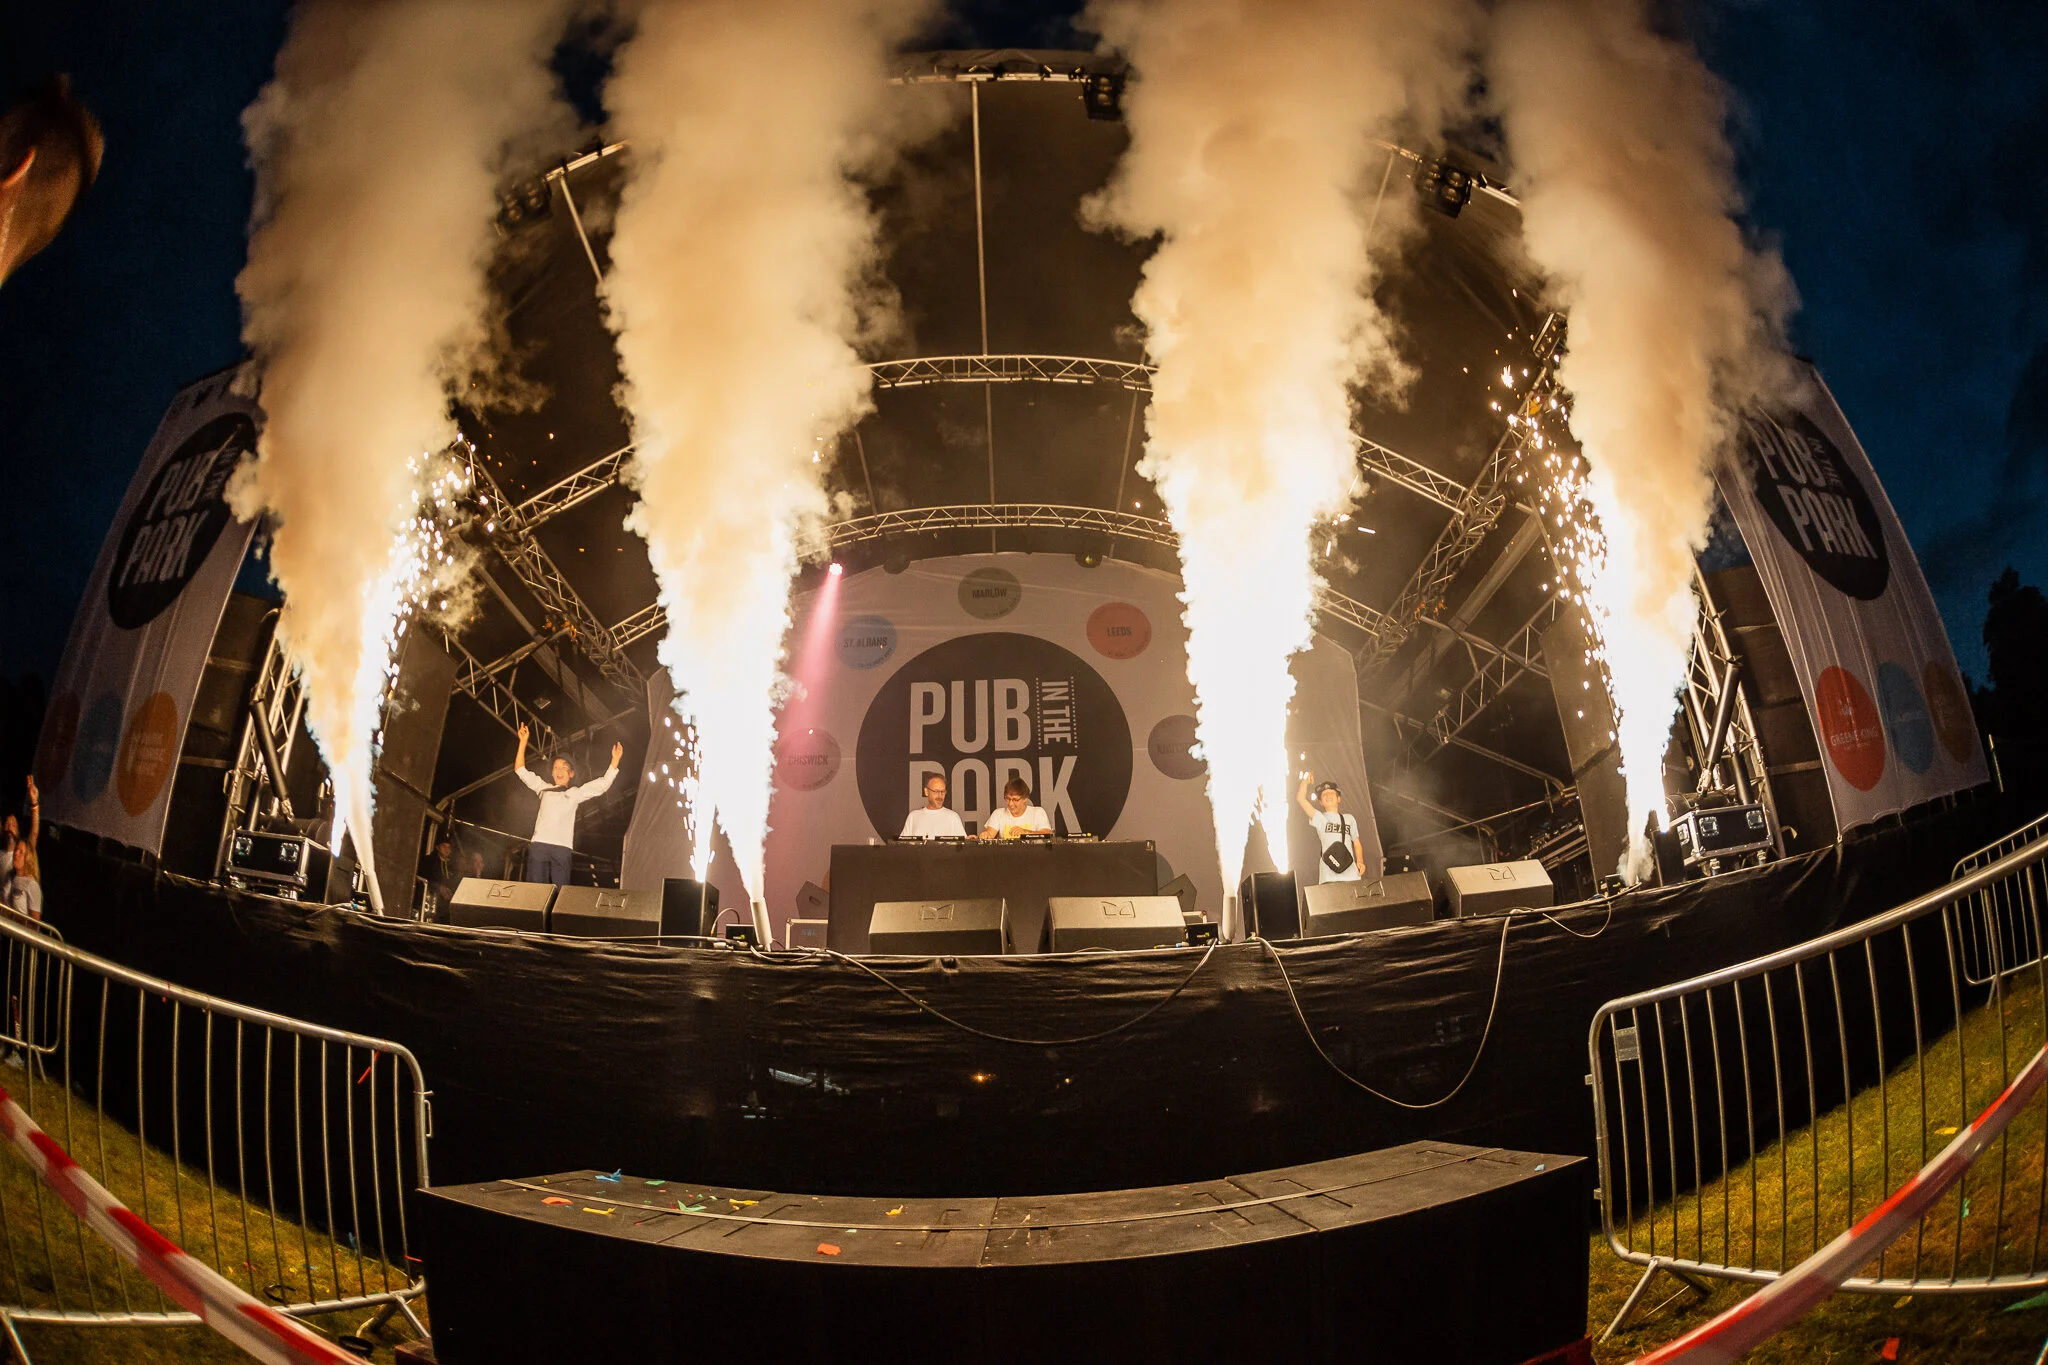
For festivals, we’ve really enjoyed using the Sigma 15mm 2.8 fisheye lens for some shots, so we’d highly recommend investing in this little beast if you want to get into festival photography! We’ve also used the 35mm 1.4 lens for festivals and, once again, has been amazing for such events (can you tell we’re a huge 35mm 1.4 lens fan?).

5. Know when to use an external flash
It’s important to feel quite comfortable and confident using an external flash and also understand when it’s necessary to use it. An external flash is there to create artificial light in low-lit and dark environments. Whatever you do, do not use a camera’s built-in flash if you have one because they create an uuugly head-on, unflattering light on your subjects. It also looks very unprofessional.
You’ve got to be very aware of your surroundings when using an external flash. Don’t just turn it on and start shooting without giving it any thought. When using a flash indoors, and like we have mentioned before, taking note of the colour of the walls and ceilings is essential when preparing to use a flash. The colours of the walls and ceilings can play a huge part in the white balance in your photos.
Generally white is perfect in order for the flash to be bounced. Black can work but as black absorbs light, you may need to crank up the flash’s power. Be extremely aware of any other colours where your flash is aimed, such as red, as the colours may bounce and reflect in your photos - and it’s not the level of quality you want, so don’t even bother sending the photo to the client!
Usually, it’s quite uncommon to use a flash outdoors but in certain situations, it can come in handy.
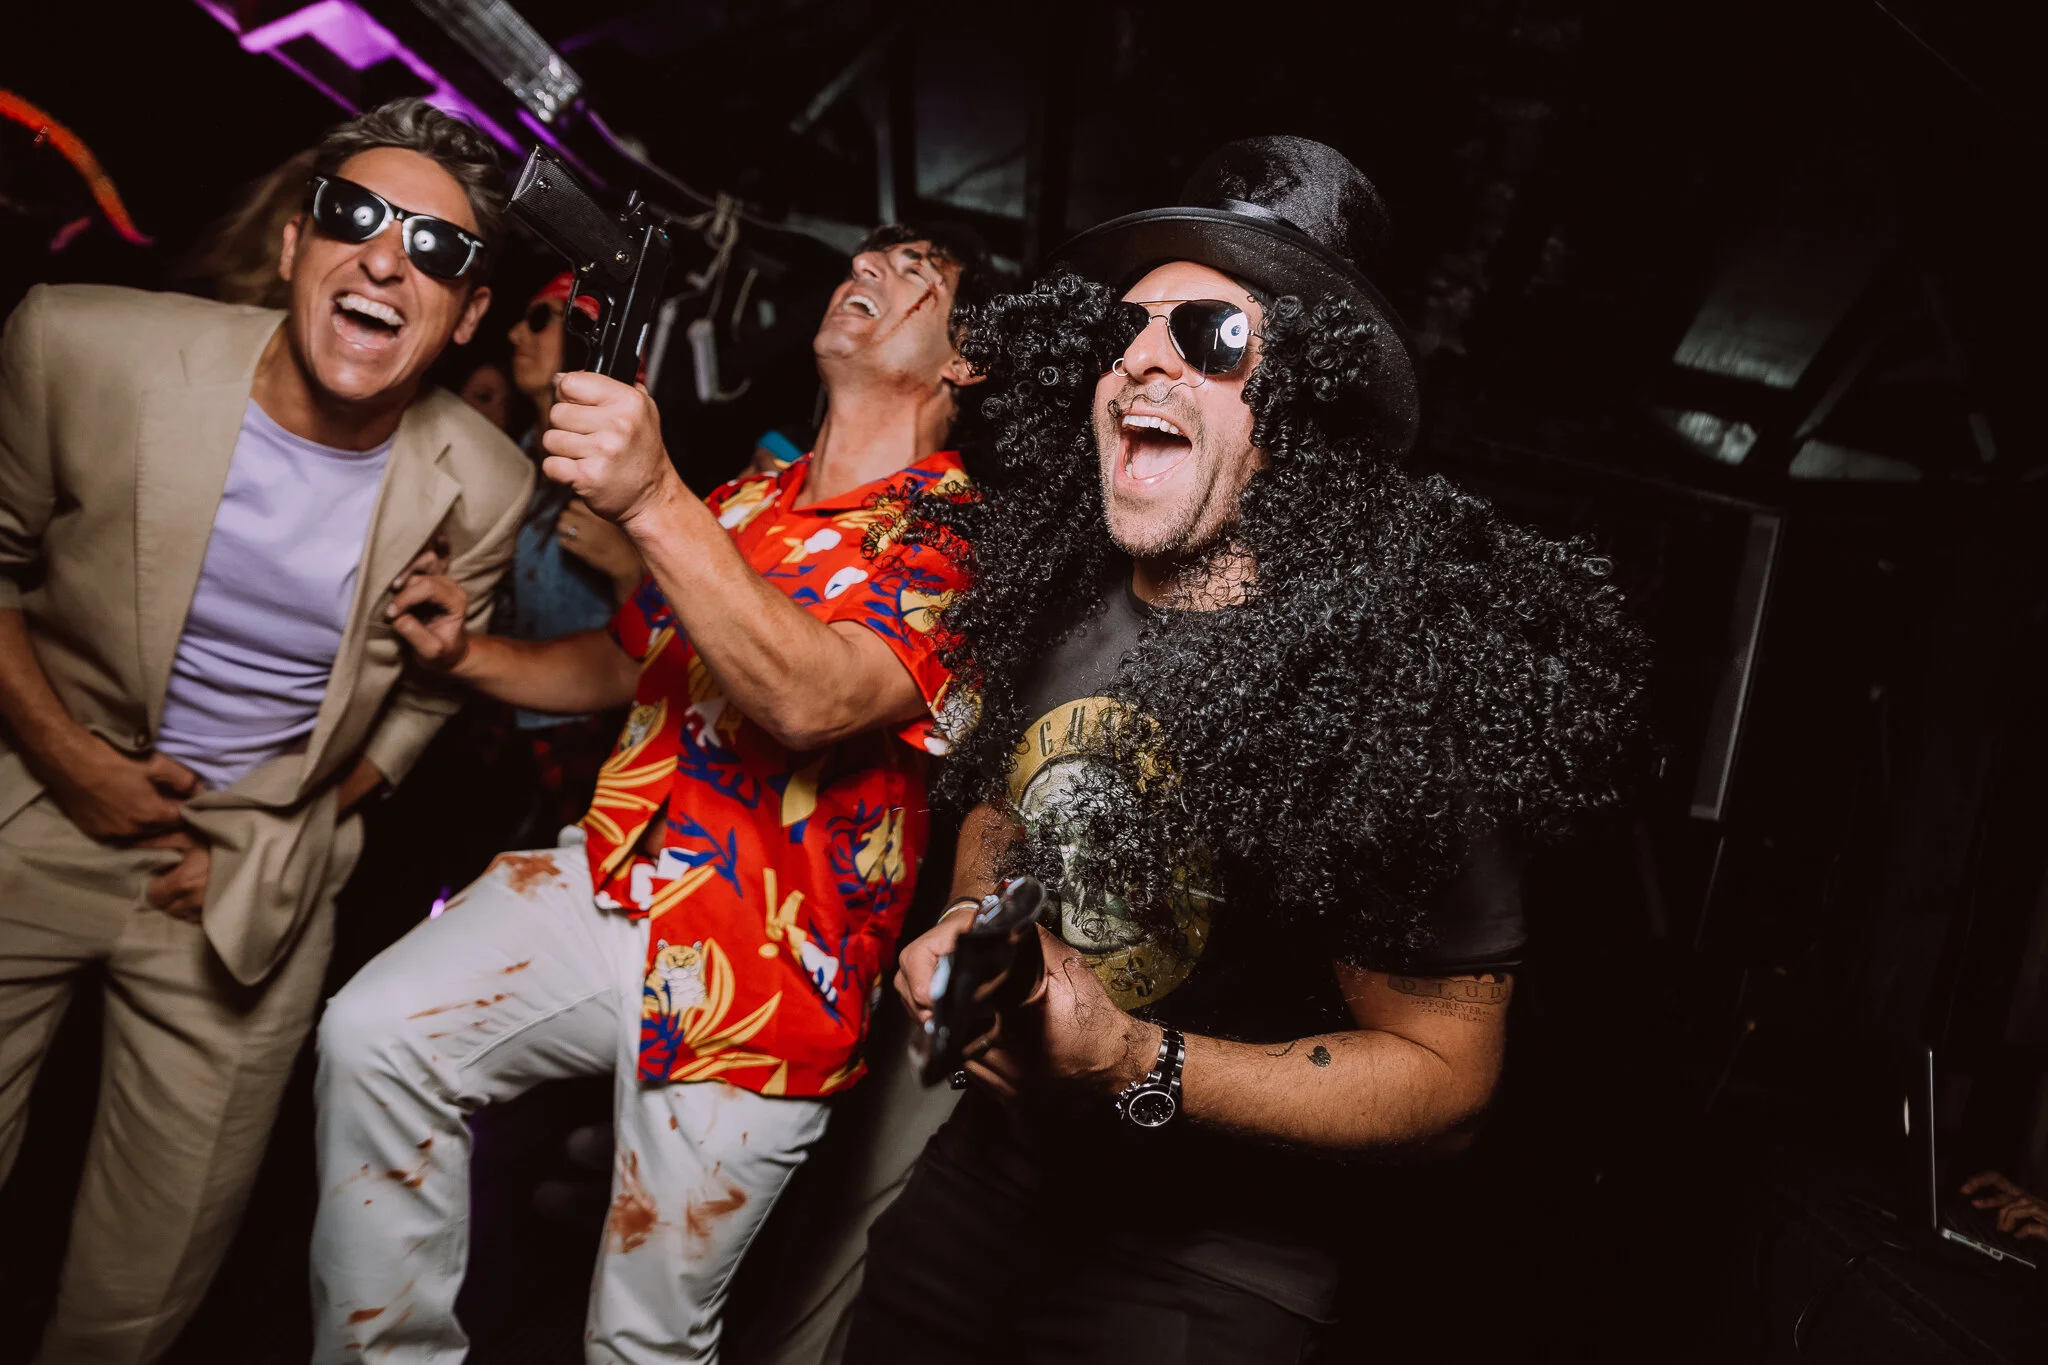
6. Take a variety of candid and posed shots
We definitely think the best event photos are those that are candid. It’s an event after all! Generally, you’ll want to have a higher percentage of candid shots than posed because it’s a lot more interesting and tells a story but definitely don’t neglect the posed photos!


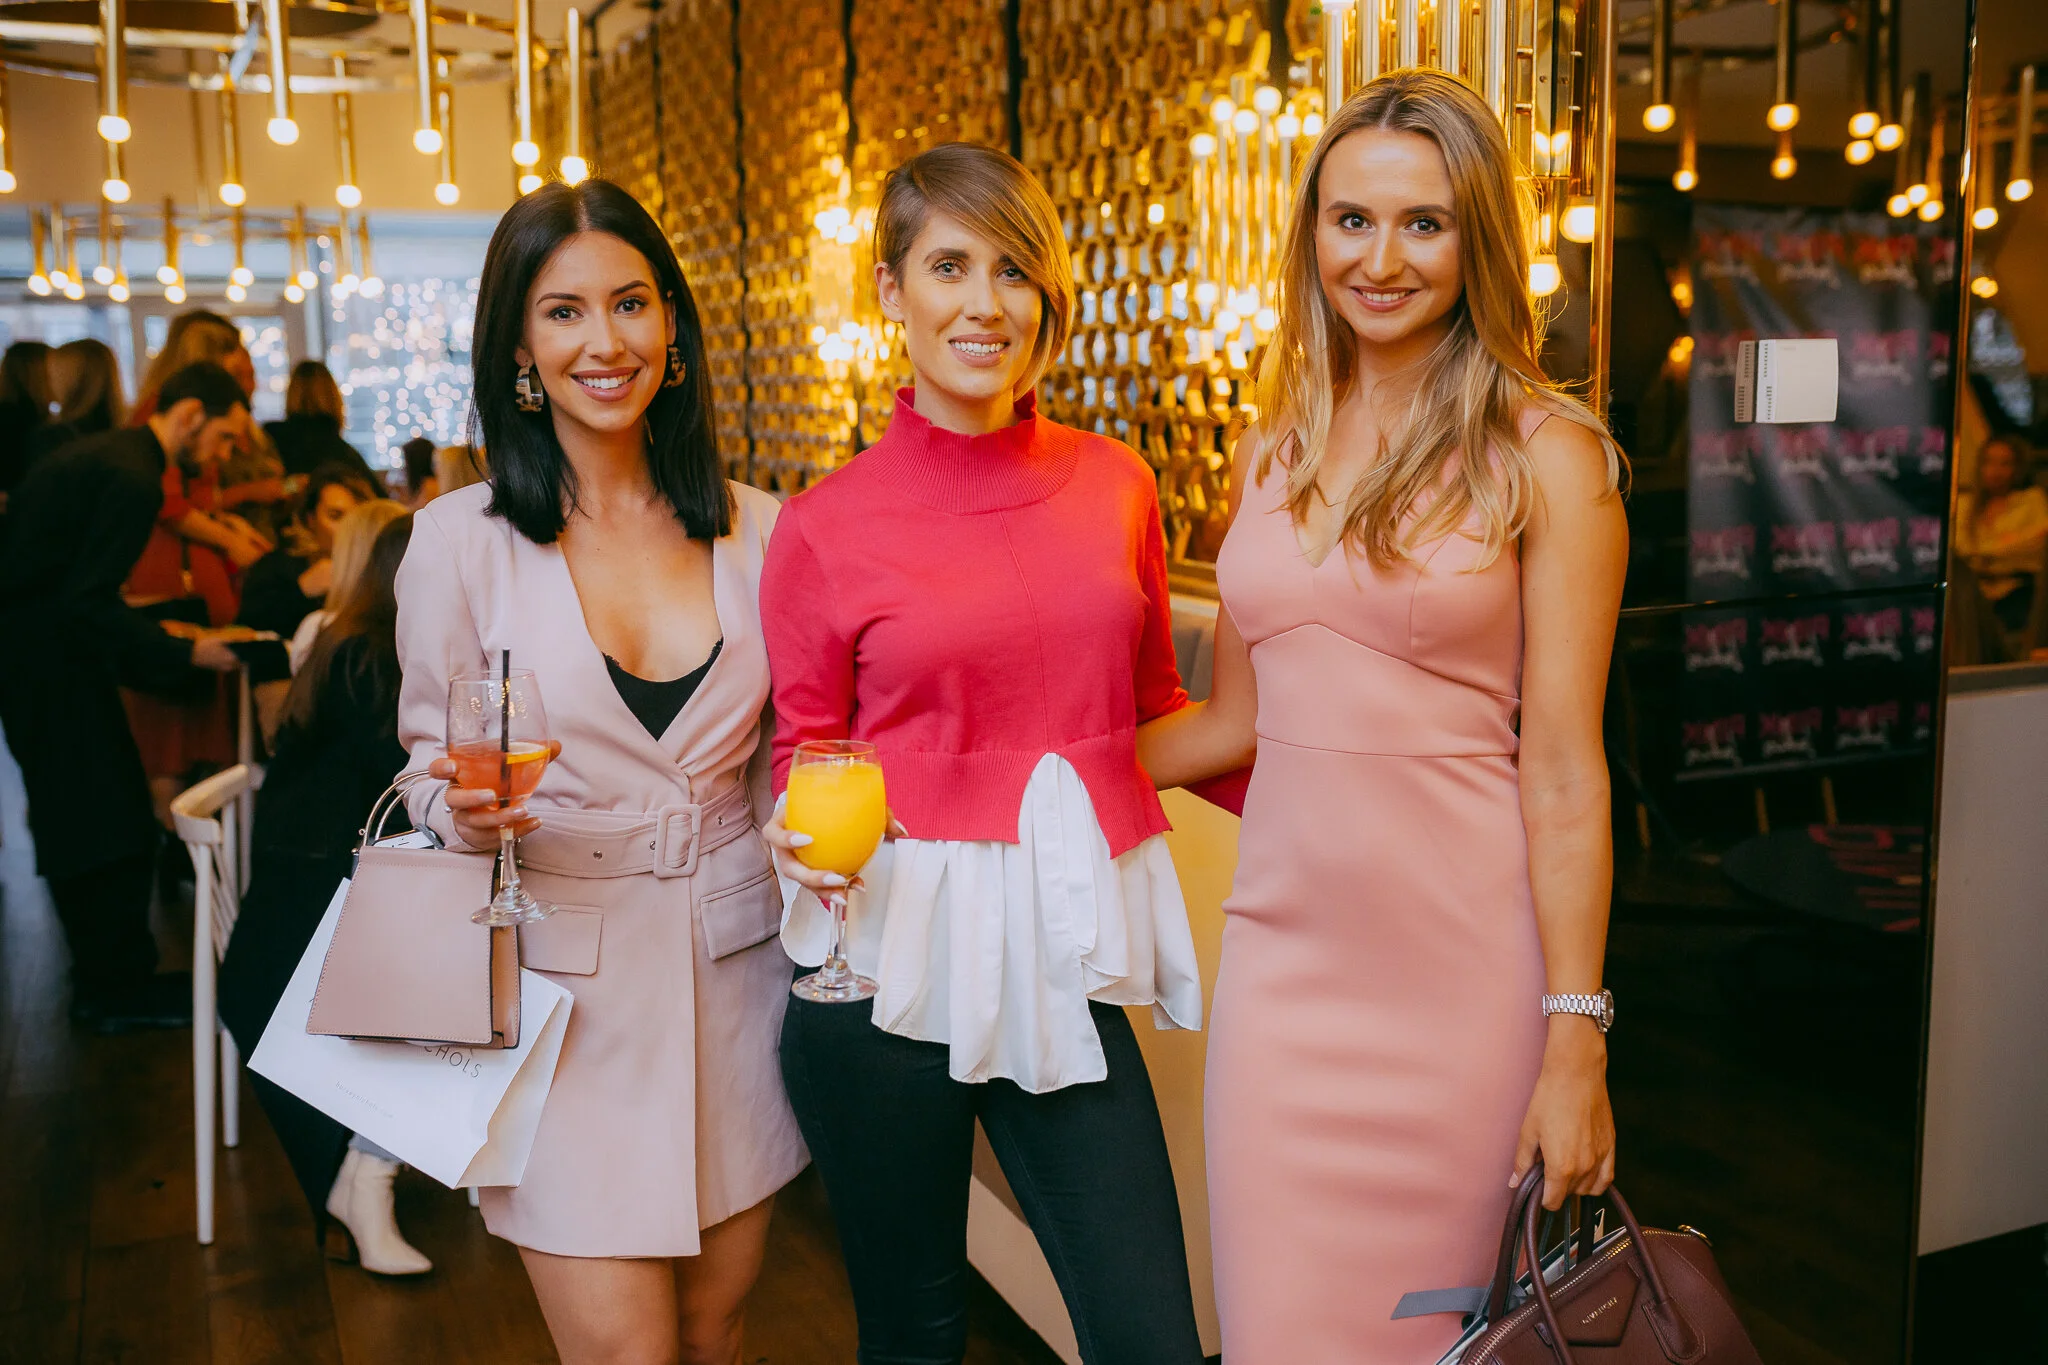
As previously mentioned above, it’s always great to get posed photos of the client(s) hosting the event, especially if it’s a PR event.
Don’t be afraid to pose people either in order to make the photo look less awkward and stiff - you want the photo to look good and natural as possible!
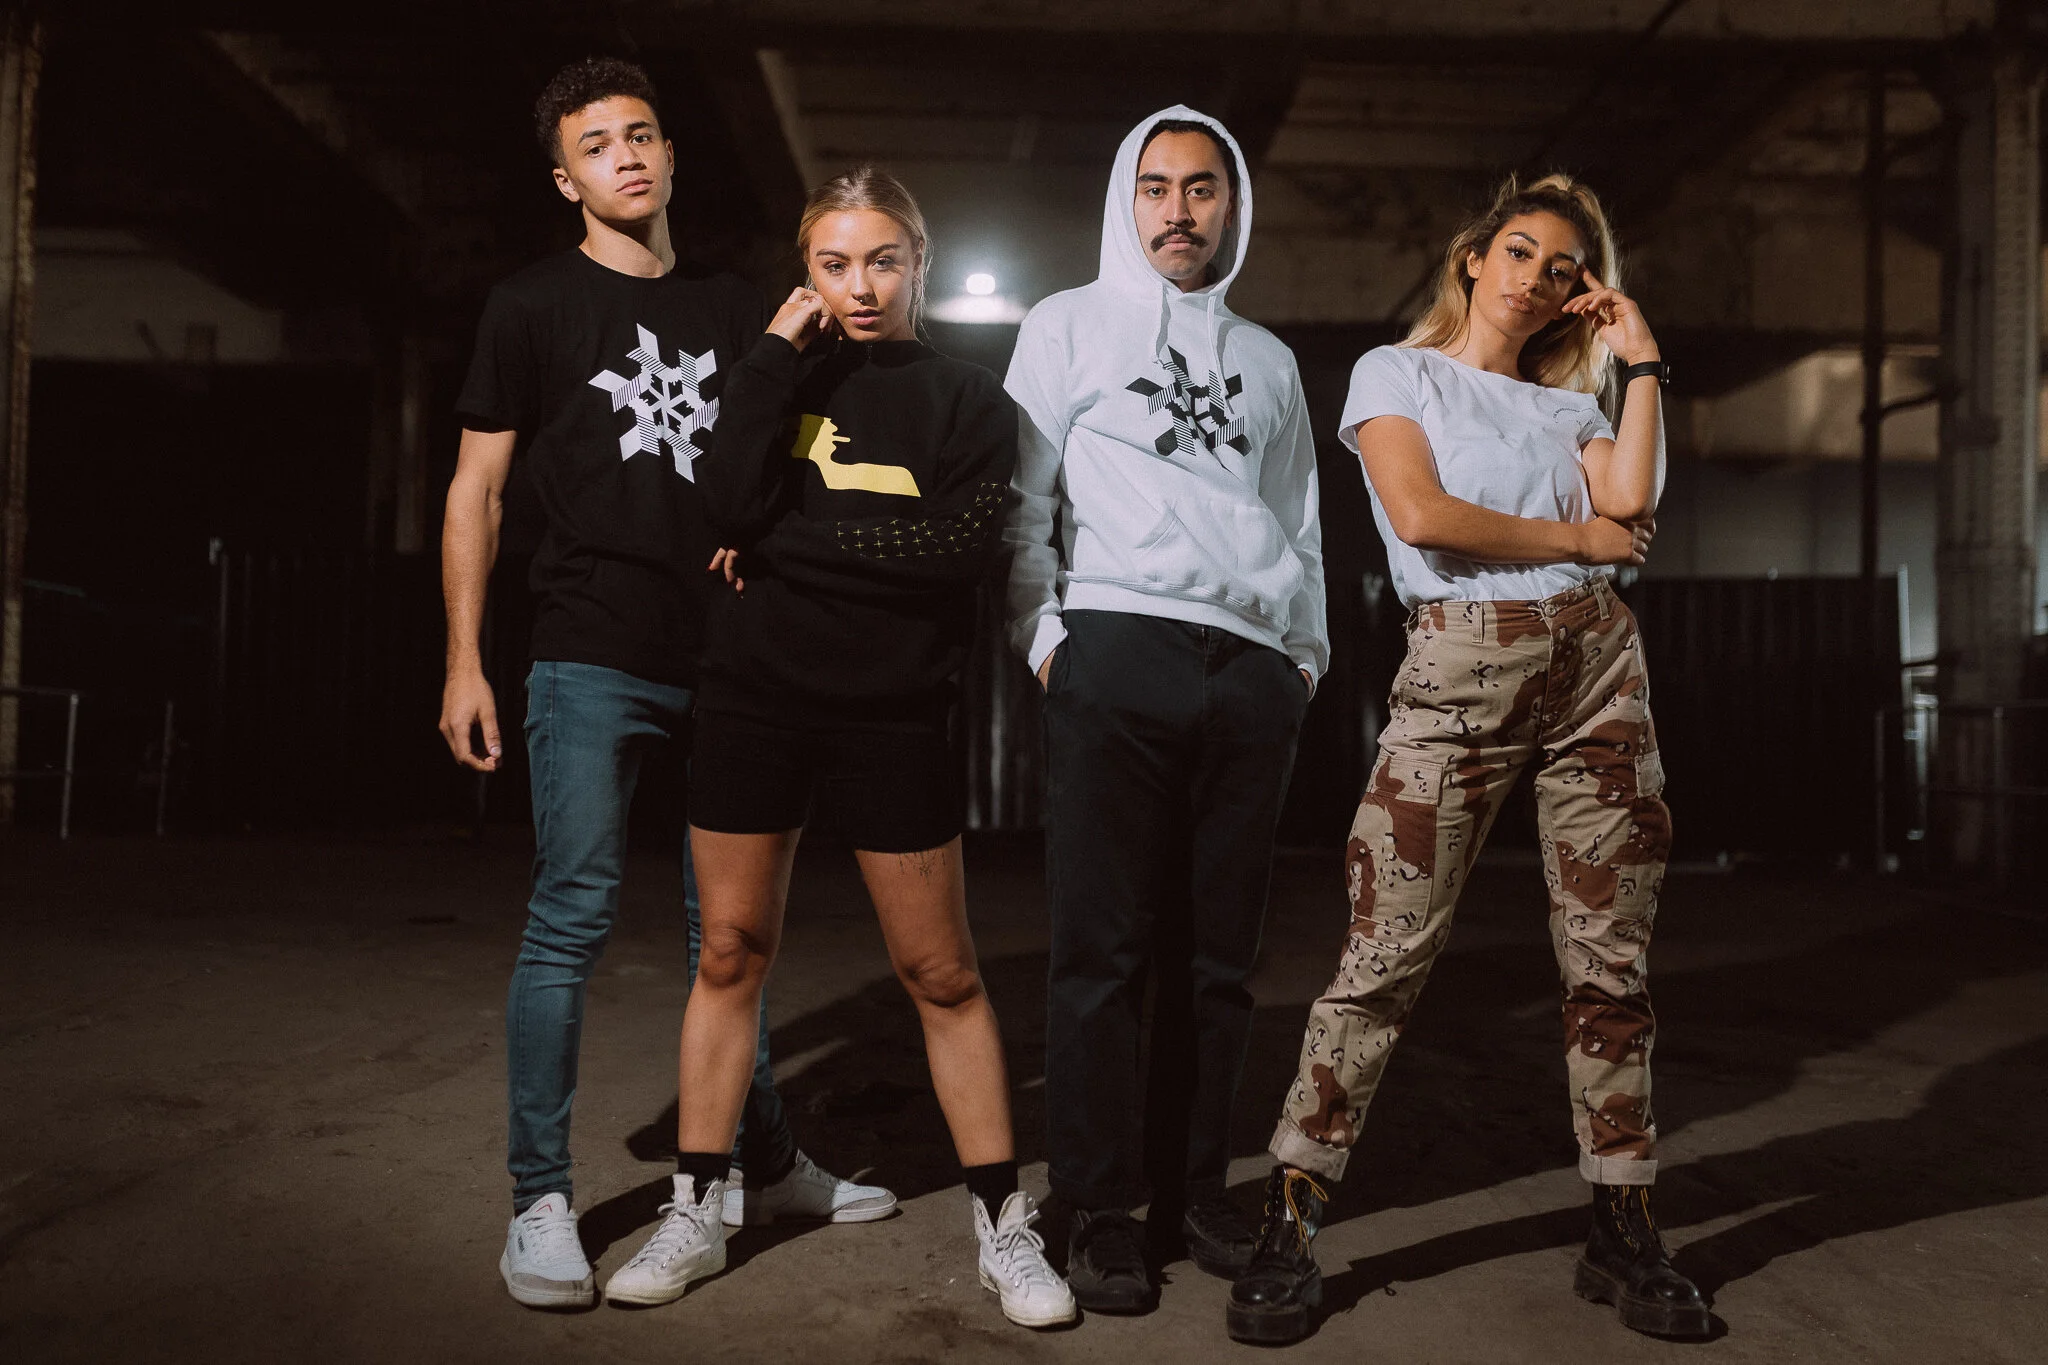
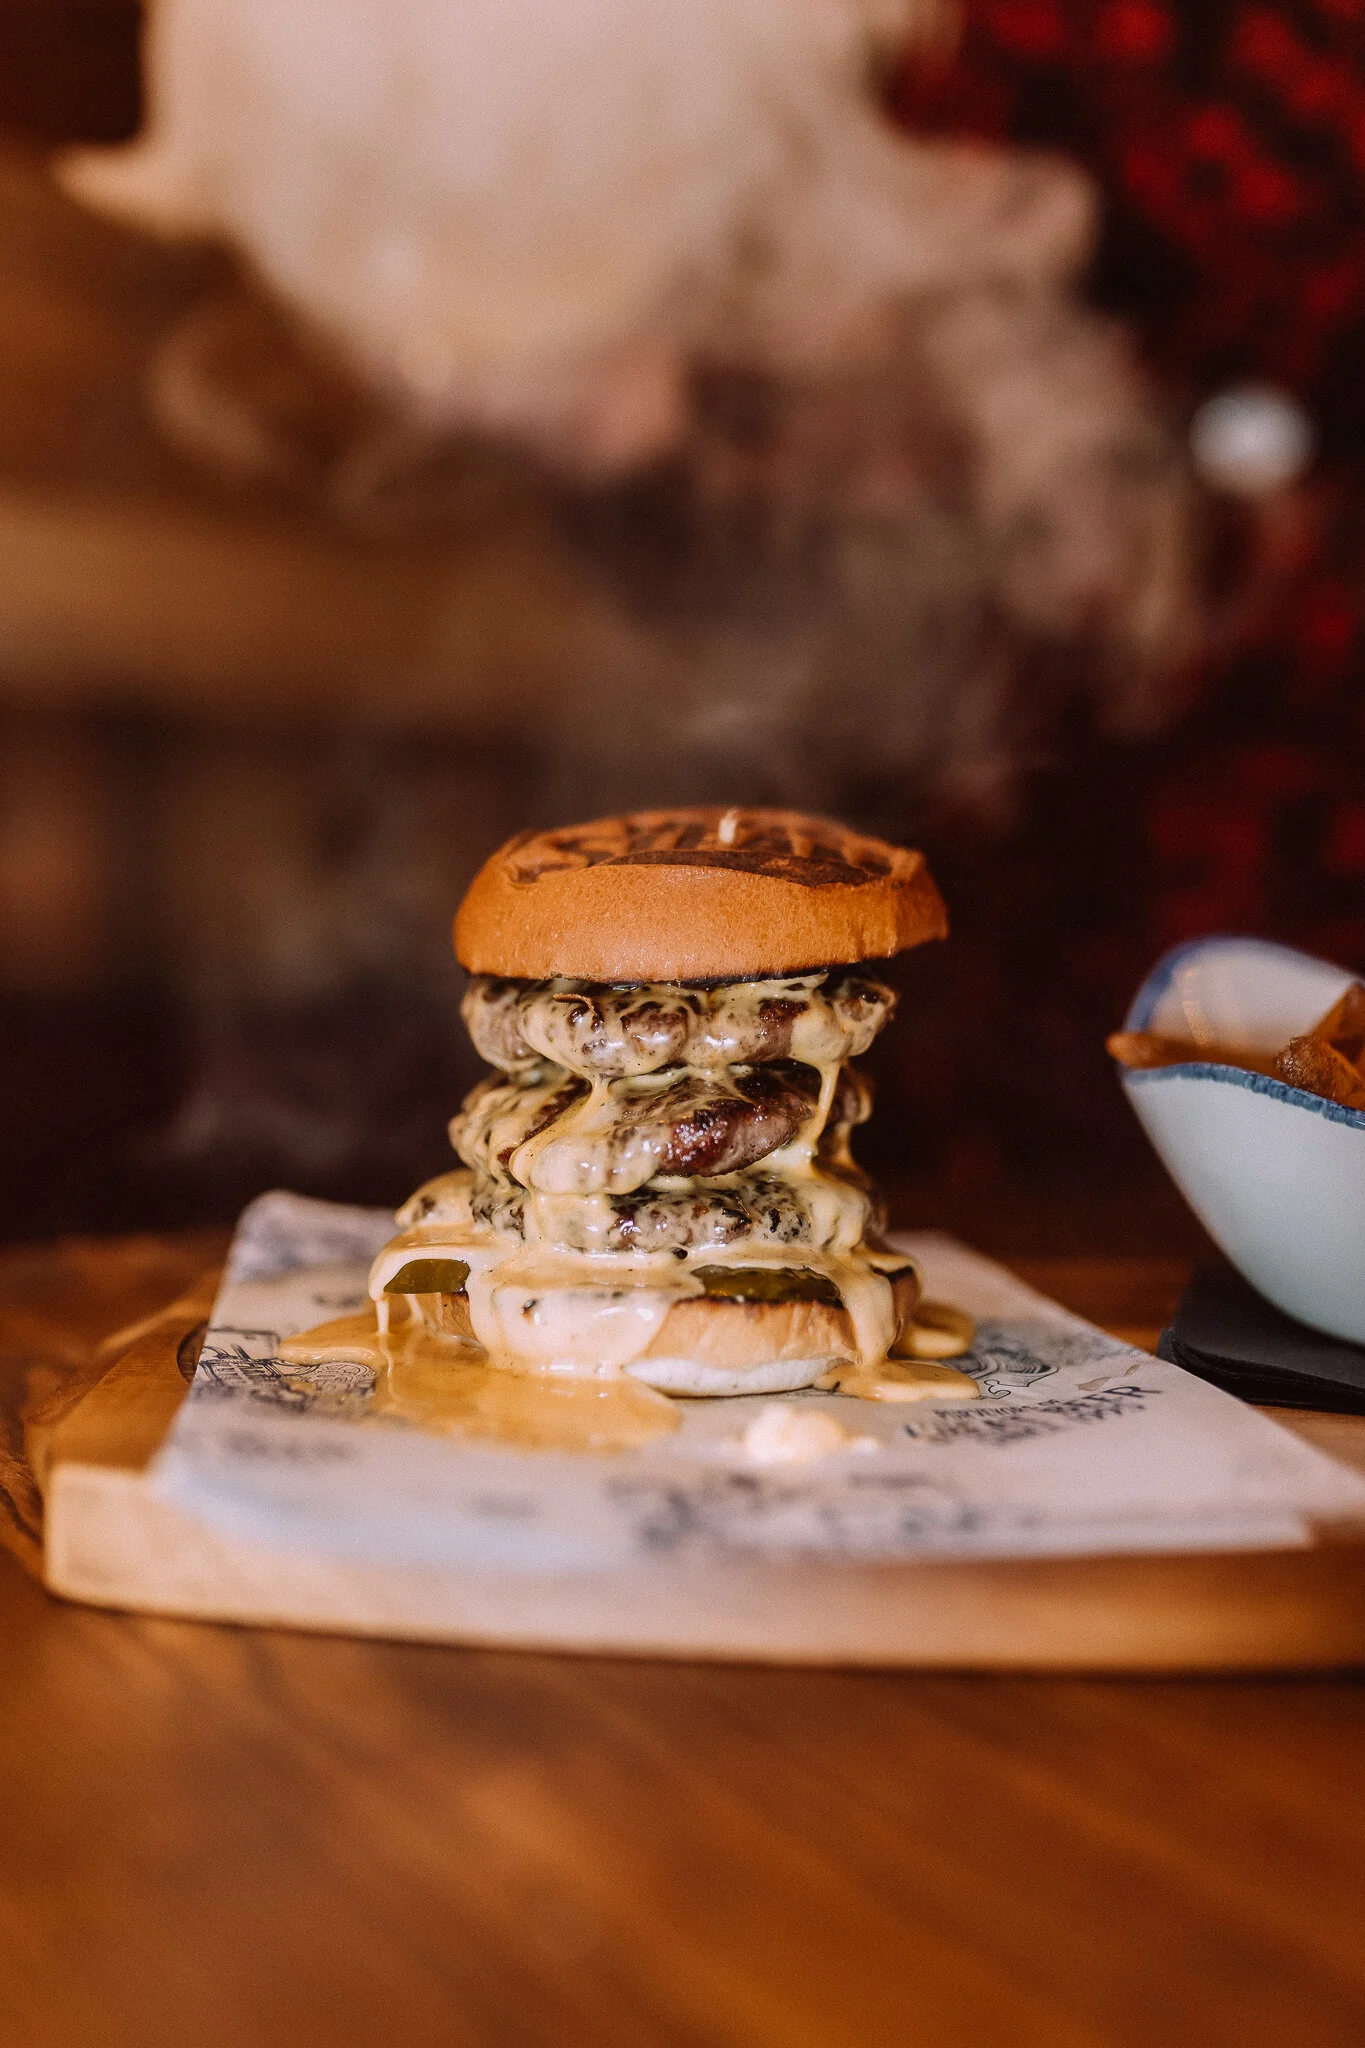
7. Take a wide range of shots in general
Tell a good story of the event with venue shots, food and drink shots, and crowd shots. It’ll also help break the album up instead of repetitive general photos of the guests at the event. Get creative with your framing too!
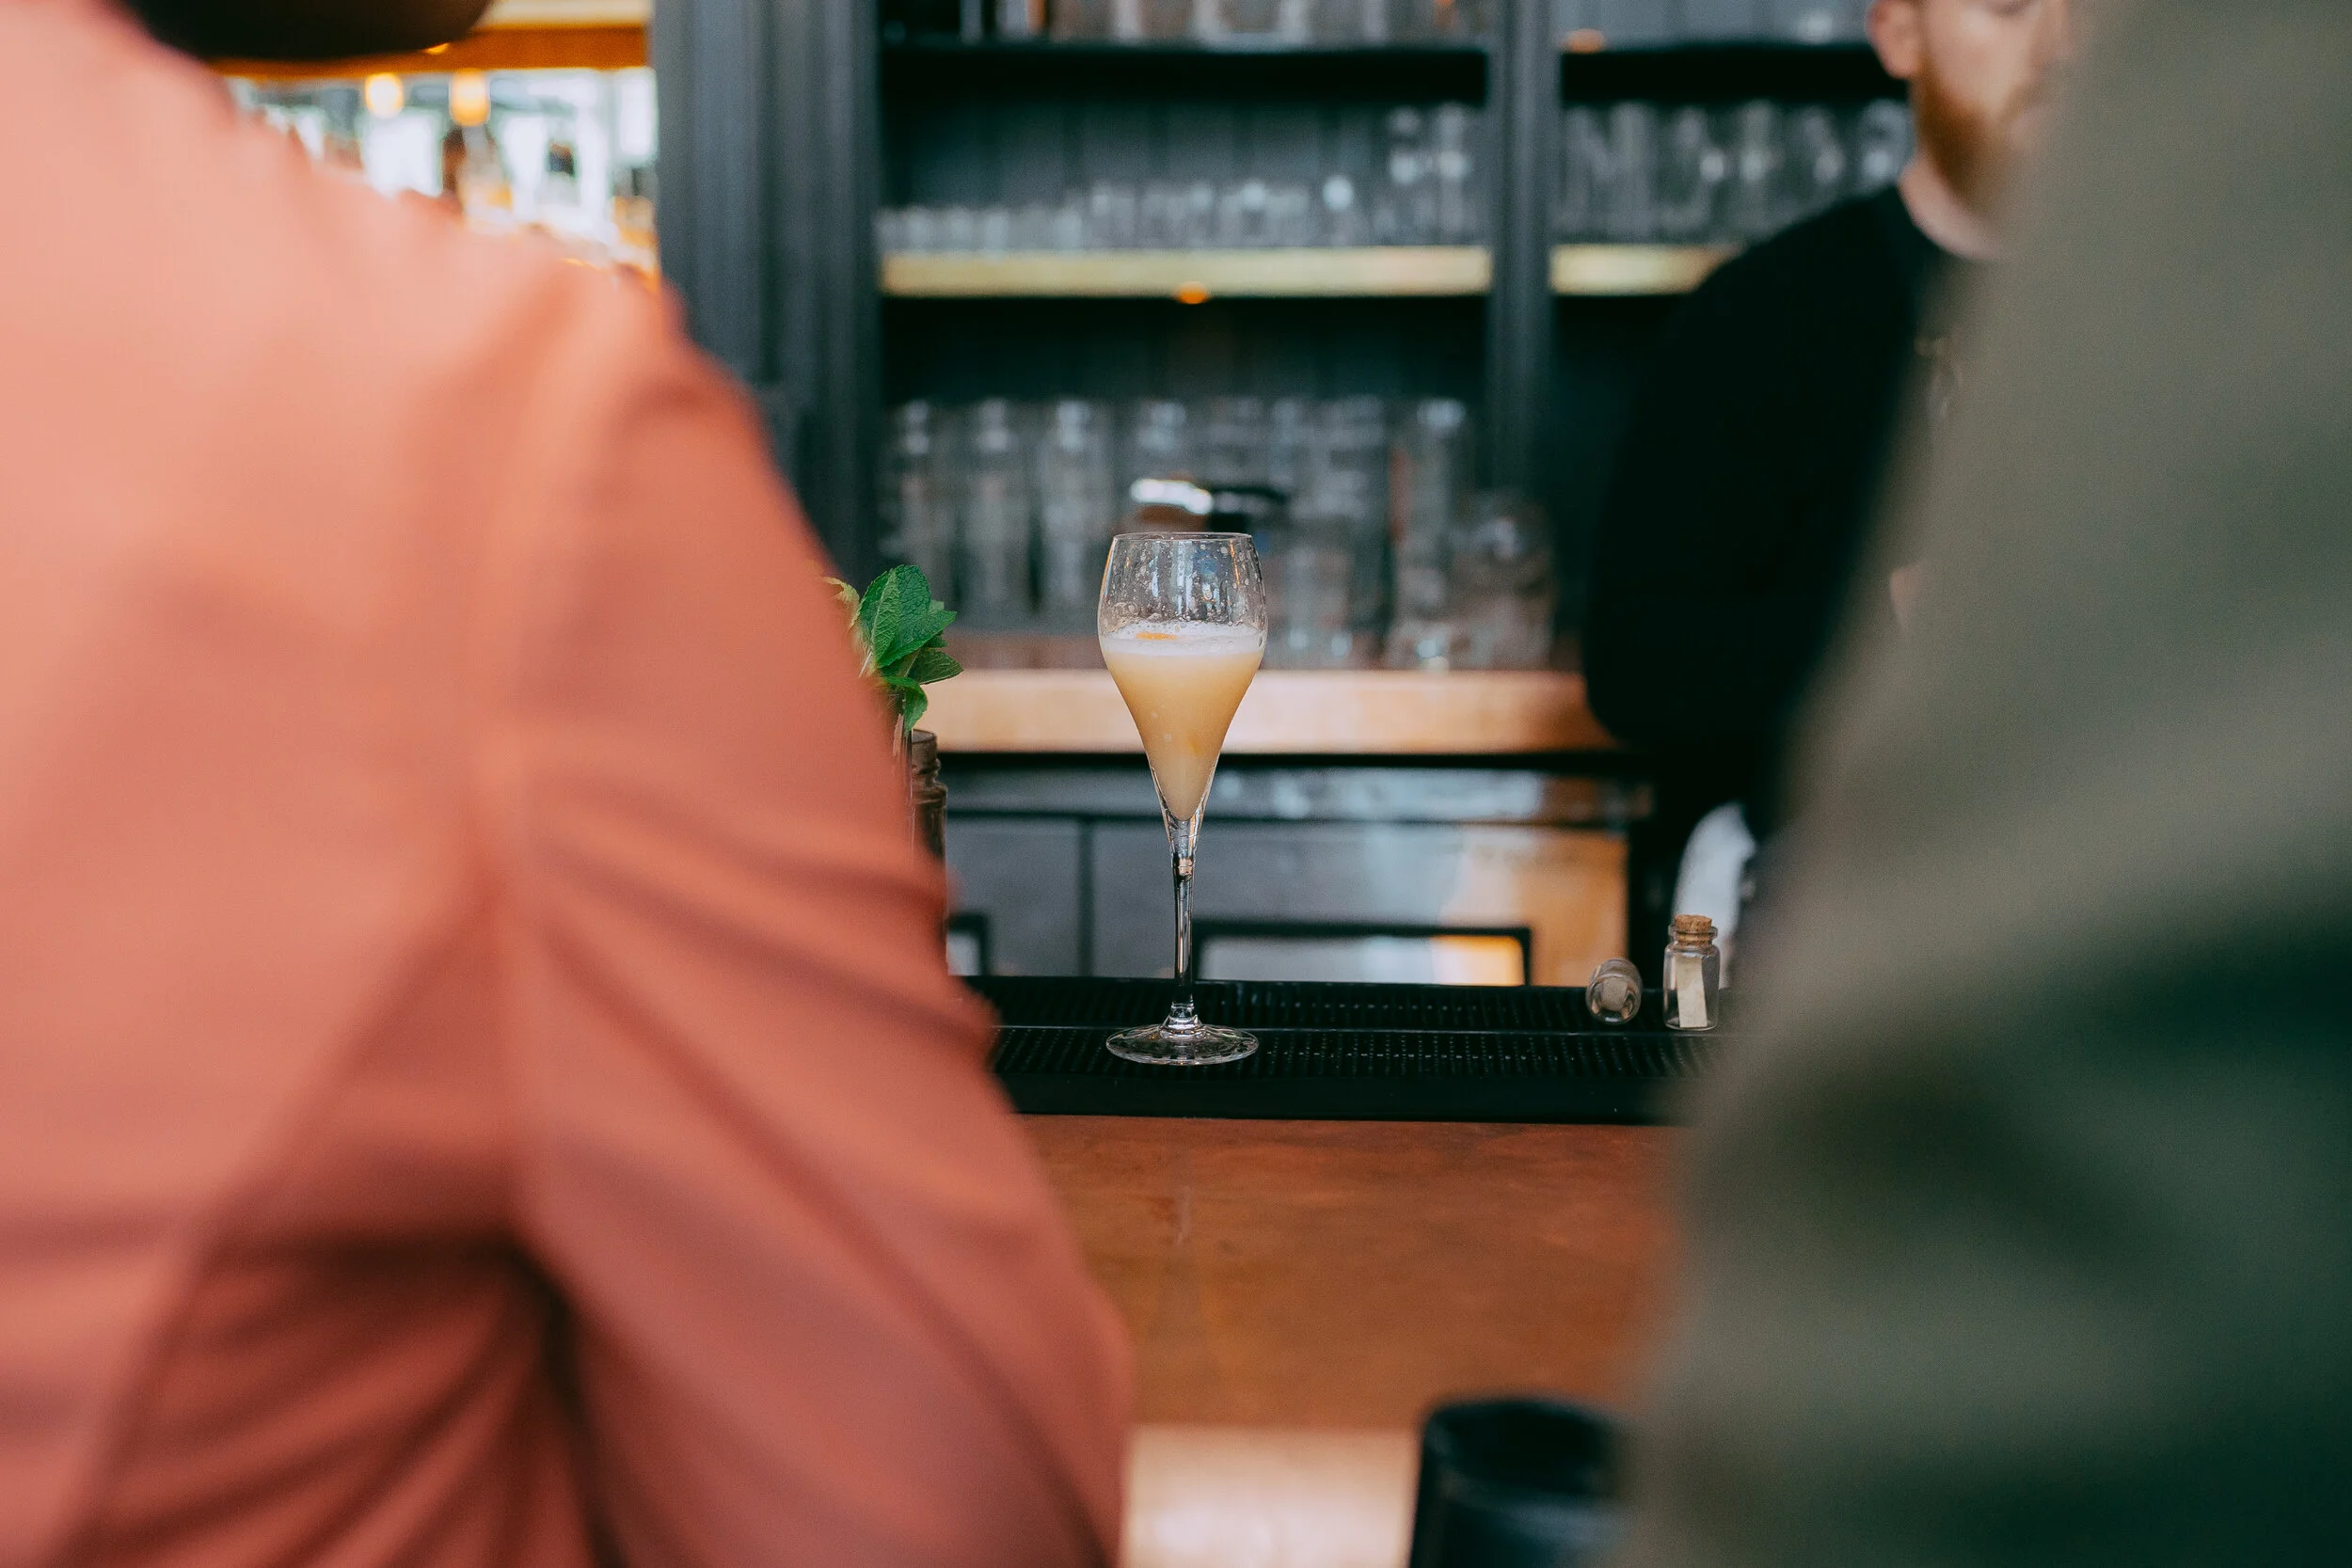
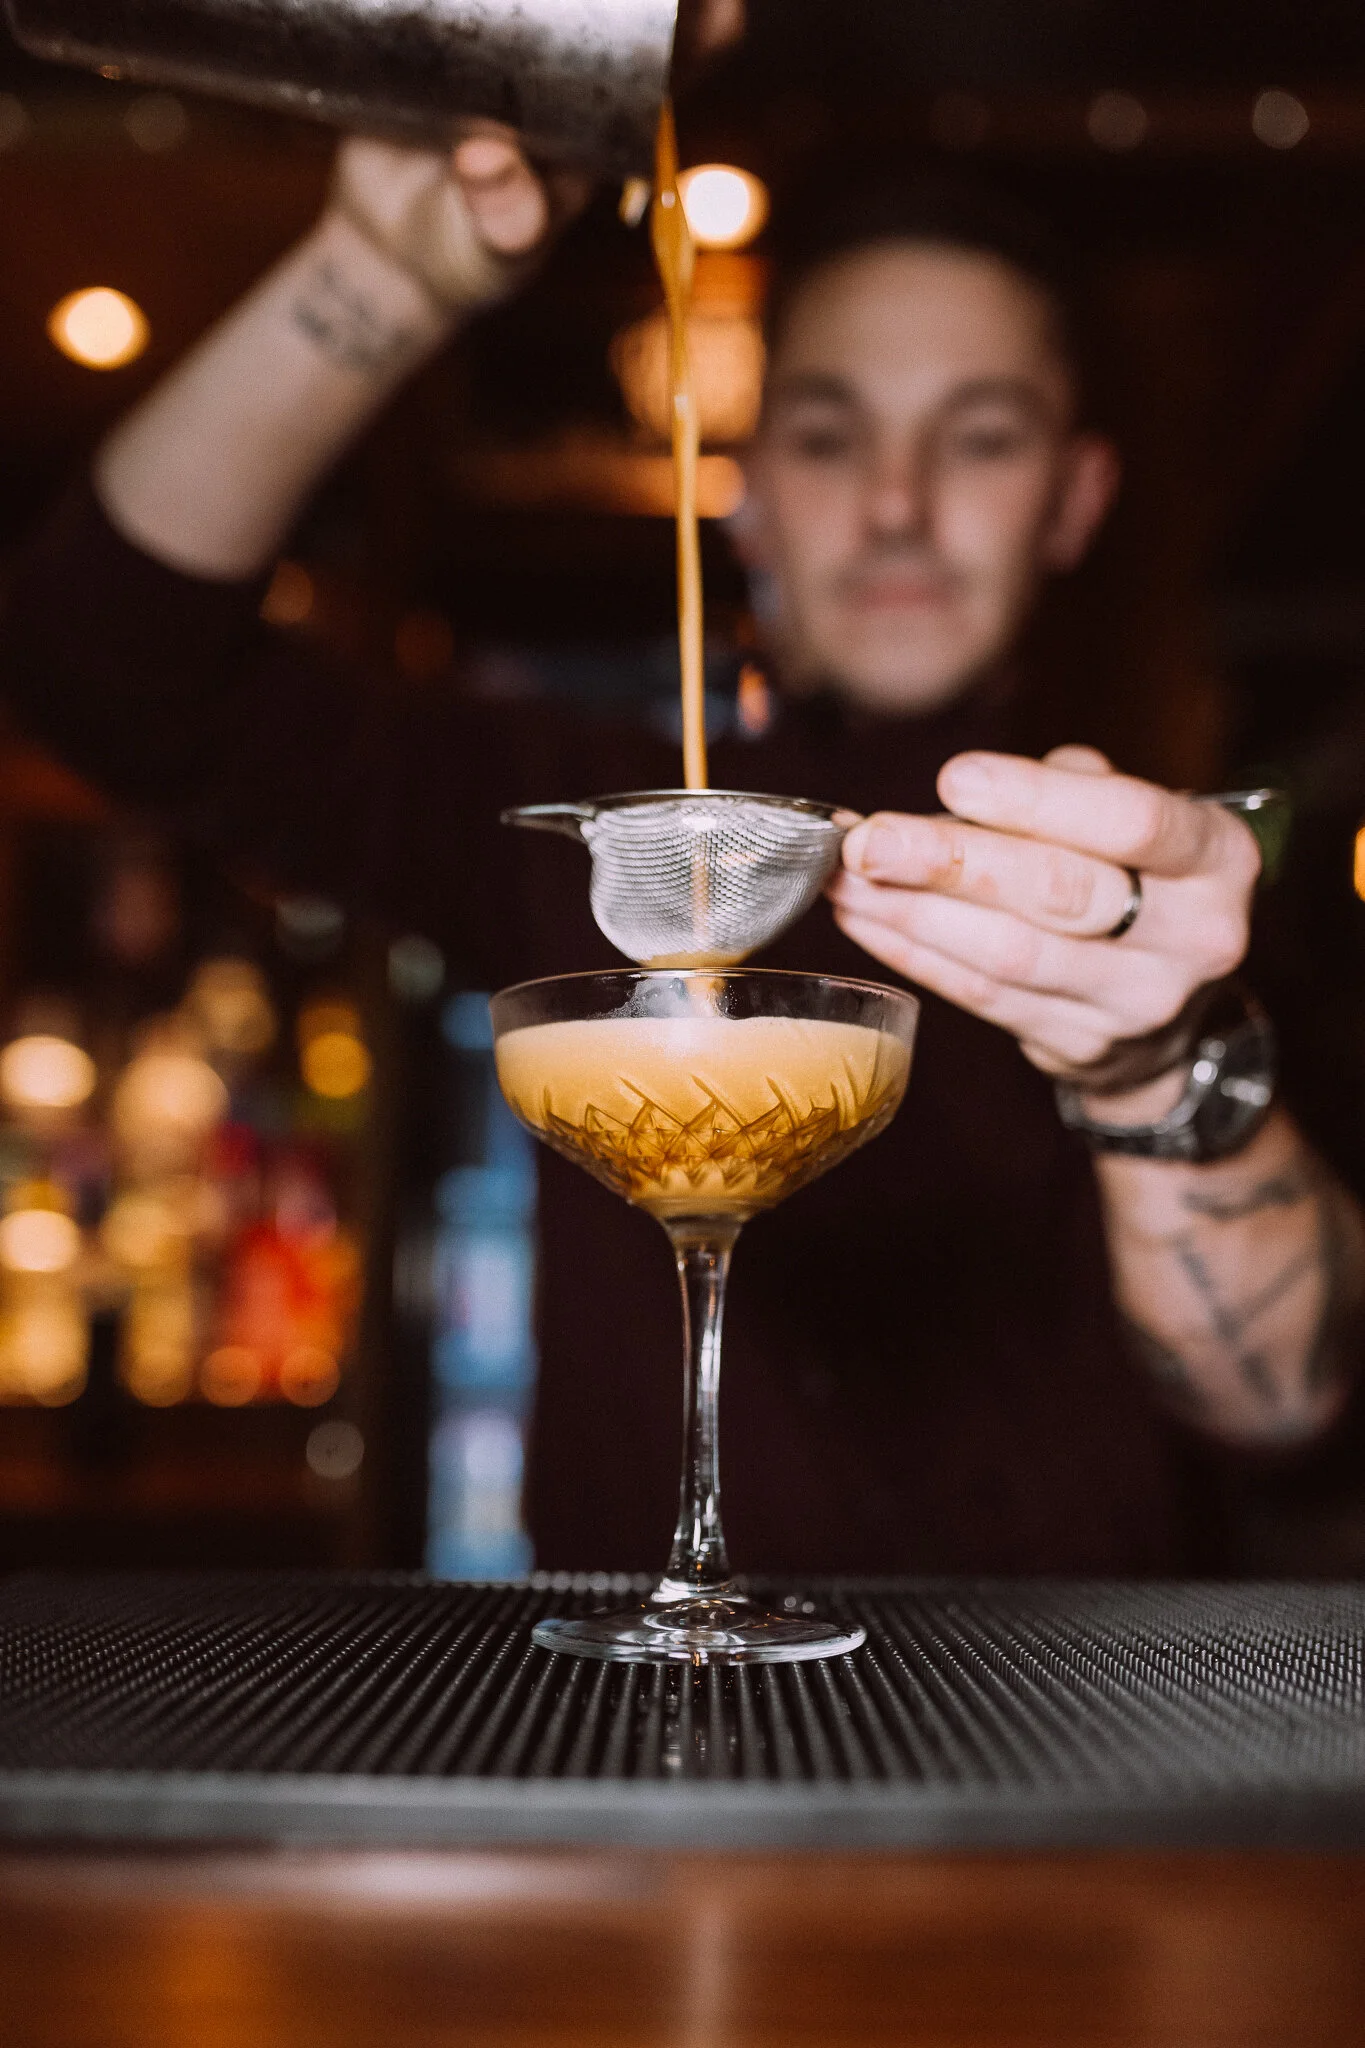
8. Ask bar staff to pour cocktails/drinks and chefs to prepare dishes
This can really up your game and is handy if you’ve not been able to get photos of food and drink that’s already been served! Don’t feel cheeky asking either - you’re doing your job! It’s also a 2-in-1: photos for the event and also extra photos for your portfolio!
9. Definitely don’t take pictures of people eating
Just don’t even attempt it. It’s totally unattractive and very rookie-like.
Instead, you can always ask a guest who’s up for pretending to eat something (i.e. staged). However, you’ve still got to have a good eye and sense of direction (or perfection if you’re like Sarah at Forbidden Panther) for what will look good and not too ew-y.
Comment below if you have any other tips!